The Incredibly Simple Homemade Yogurt Recipe.
Yogurt is one of my favorite foods. I eat it every day!
Yogurts contain tons of probiotic bacteria, beneficial to the body.
The problem is that often store-bought yogurts contain questionable ingredients.
Ingredients made from genetically modified (GMO) products and not super natural additives.
For example, let's take the ingredients of a store-bought yogurt, “Activia Recipe au Fromage Blanc - Strawberry”:

List of ingredients : Cottage cheese 40%, whole milk 30.5%, strawberry 9%, sugar 8.4%, cream, glucose-fructose syrup 1%, milk proteins, thickeners (E 1422, E 440, E 412), flavoring, gelatin, lactic ferments including bifidobacterium (Bifidus ActiRegularis®), coloring (E 120, concentrated purple carrot juice).
Additives: E1422 (acetylated distarch adipate), E440 (pectins), E412 (guar gum), E428 (gelatin), E120 (carminic acid)
Not very appetizing, all that, is not it?
In addition, glucose-fructose syrup and pectin are often made from GMO products.
The recipe for homemade yogurt

Fortunately, with this homemade yogurt recipe, you can eat healthy yogurts with ingredients of your choice (preferably organic!).
And that's not all: homemade yogurts are not expensive! With 1 liter of milk, we produce 50 cl of homemade yogurt.
Also note that you can make homemade yogurts with a small device called a yogurt maker.
Yogurt makers are easy to use and you can find them for under $ 20. If you are interested, we recommend this yogurt maker.
Ingredients

- 2 liters of organic milk
- a basic ferment: either 60 - 120 g of whole organic yogurt or 2 sachets of powdered ferments
- a food thermometer
And that's all you need!
How to do
1. In a large saucepan, heat the milk to 75 ° C.
Note: If you are using raw (unpasteurized) milk, do not heat more than 50 ° C, in order to avoid pasteurizing the milk.
But since you will be adding probiotic bacteria, this precaution is completely optional.
2. Once your milk has reached the desired temperature, remove the saucepan from the heat and allow the milk to cool.
But beware : If you are using an electric hob, remove the pan completely from the heat. Otherwise, your milk will continue to heat up. And if it heats up over 85 ° C, your yogurt will be a failure.
3. Let the milk cool until 42 - 44 ° C.

Indeed, if you add the ferment at a temperature above 44 ° C, you will kill the bacteria that produce the yogurt!
And if you add it at a temperature below 42 ° C, it will be too cold to activate the yogurt culture.
It is because of these precise temperatures that I strongly advise you to use a food thermometer.
4. Once the milk has cooled to the desired temperature, use a ladle to transfer about 25 cl (or 2 mustard glasses) into a large bowl.
Now is the time to add your basic ferment (either store-bought yogurt, or a previous batch of homemade yogurt, or powdered ferment).
5. Incorporate the ferment into the milk gently.
Note: the watchword is candy. You don't make whipped cream!

6. Pour the milk / ferment mixture into the saucepan and incorporate everything with a whisk.
7. While you prepare your mixture, fill a large quality thermos with hot water.
This way, it will be very hot when the mixture of milk and ferment is ready to be poured into the thermos.
Indeed, if the walls of the thermos are too cold, the mixture will cool and your yogurt will be missed!
8. Pour the mixture of milk and ferment into the thermos, using a ladle. Immediately close the thermos.

9. Let the thermos sit for 10 to 2 p.m. in the warmest place in your house (for example, next to a wood stove).
The longer you let the yogurt sit, the more acidic it will be.
10. Now you have to give your yogurt a very thick texture.
Put a colander in a salad bowl. Then cover the colander with a clean, lint-free tea towel, as in the photo:

11. To drain your yogurt, pour it into the tea towel.
It will be very liquid, but don't be alarmed!

12. Drain the yogurt for at least 2 h.
The longer you let the yogurt drain, the thicker it will have.
Personally, I prefer yogurt which has a creamy texture.
But if you let it sit overnight, it will have a delicious thick texture of cream cheese.
Results
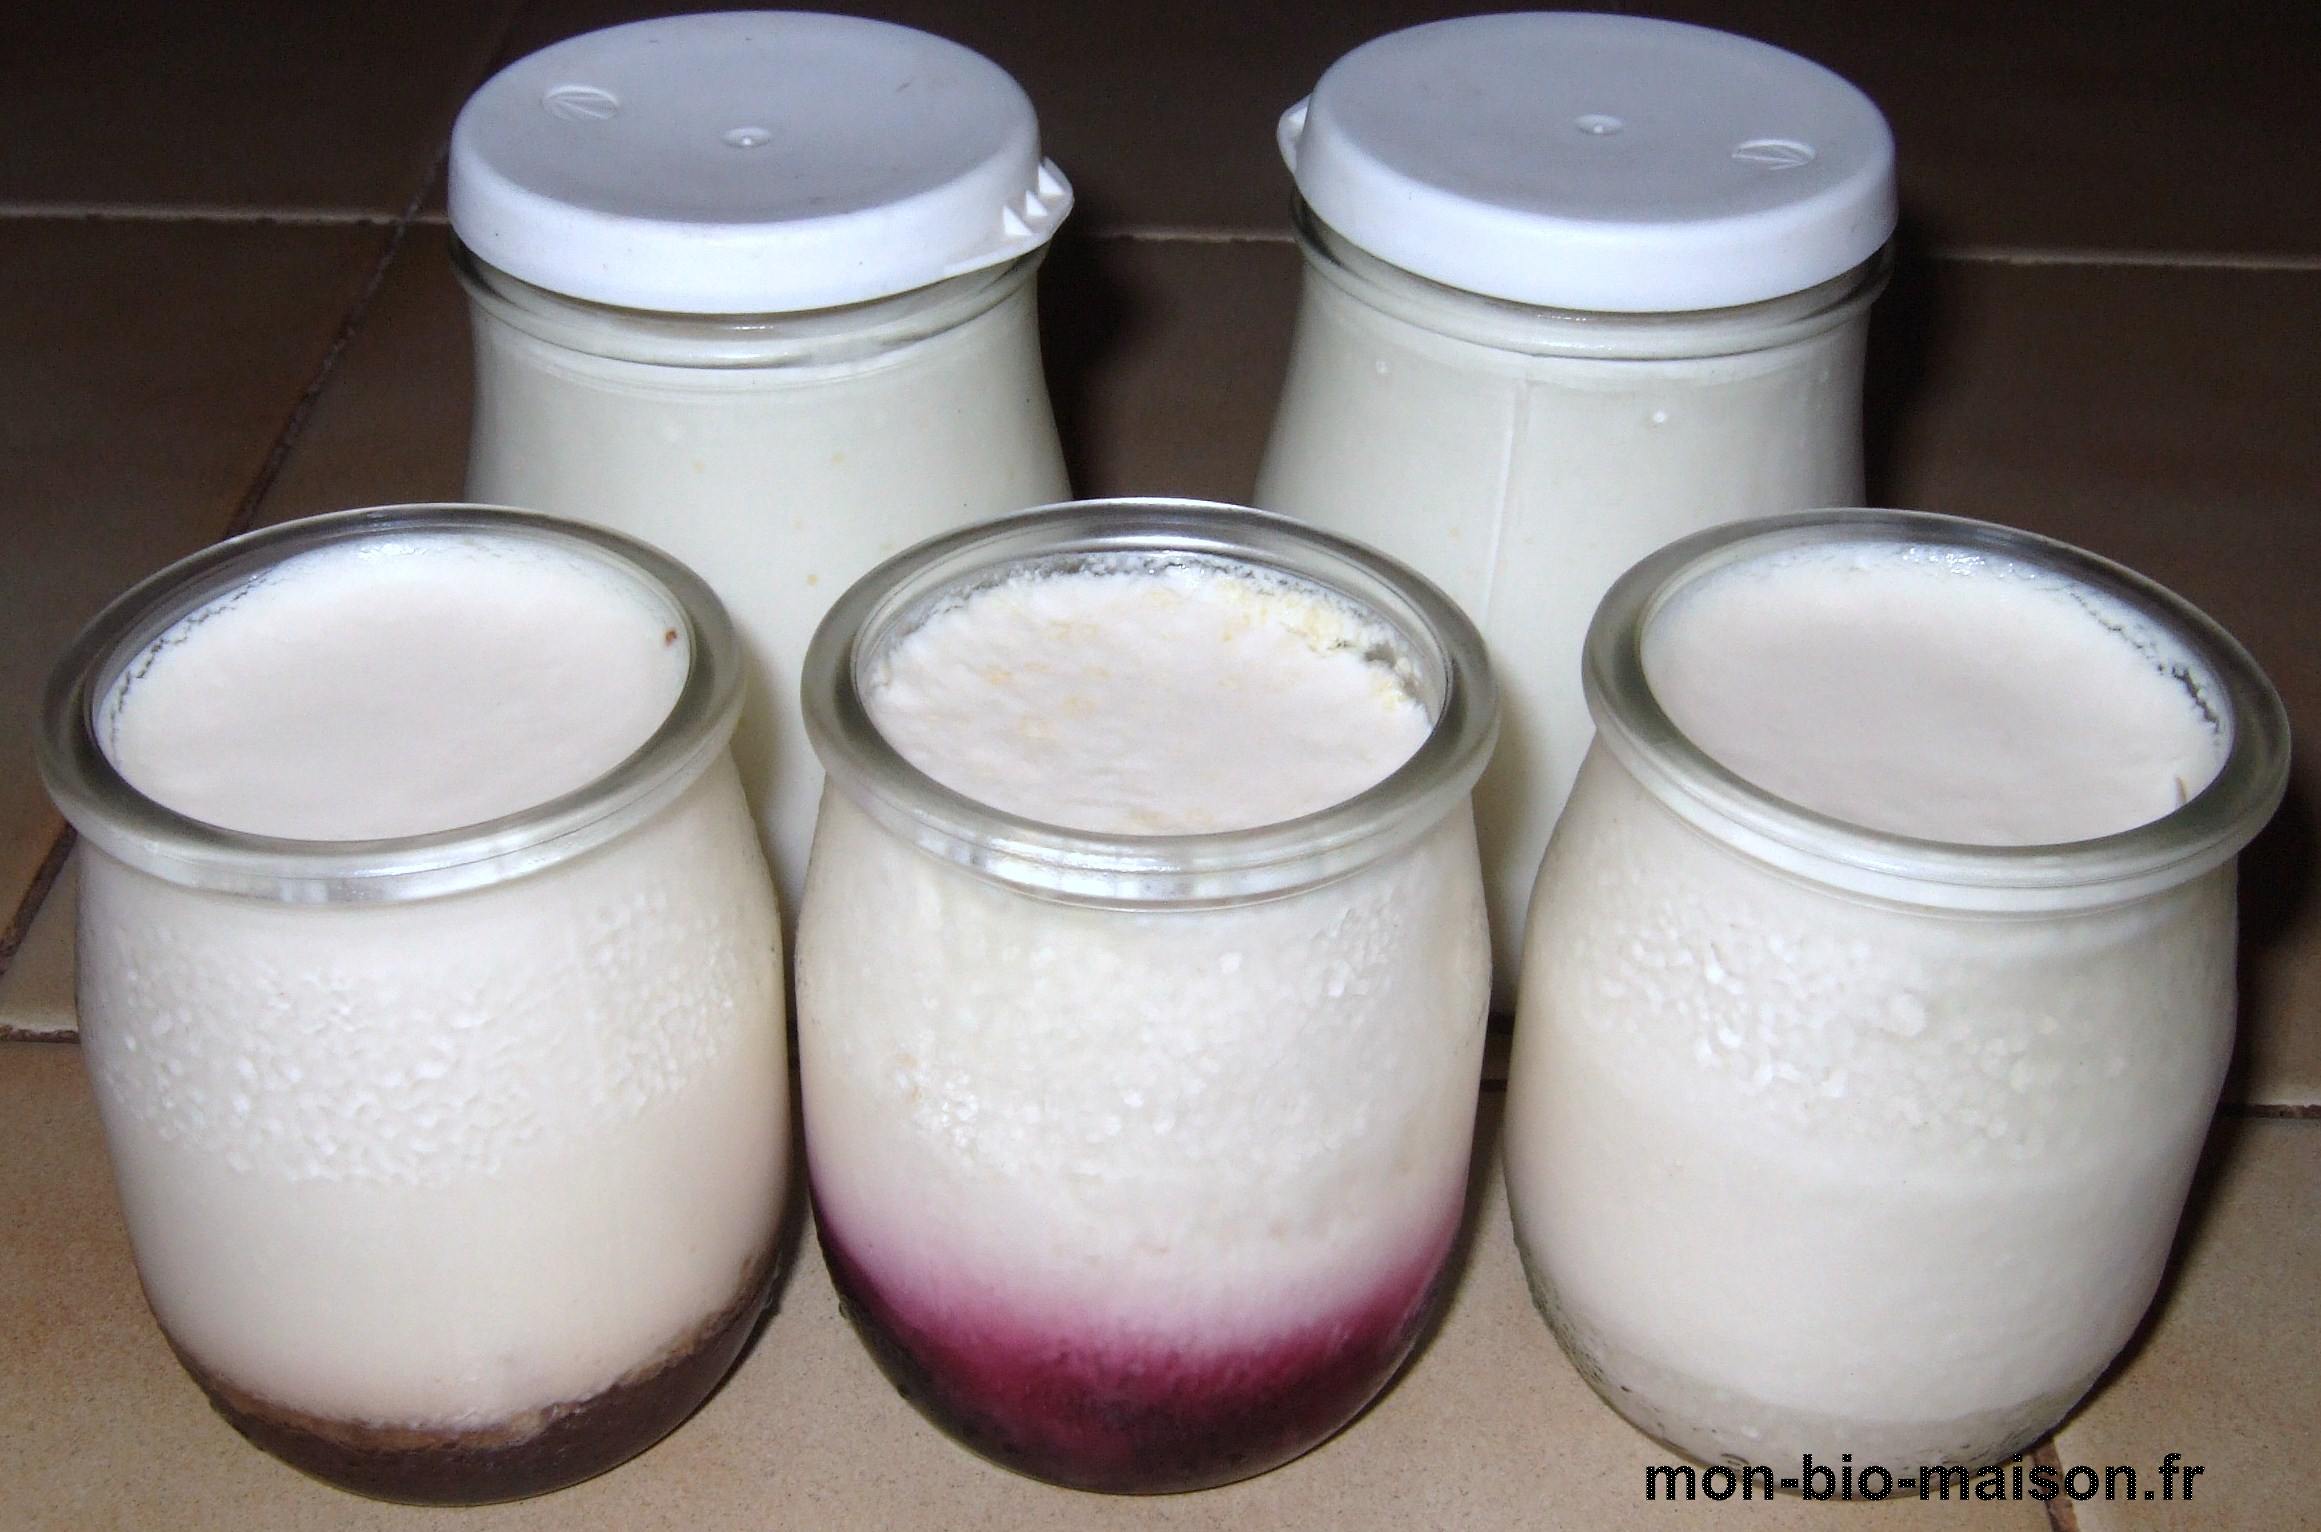
There you go, your homemade yogurt is ready :-)
You now know how to make delicious homemade yogurt. Enjoy your lunch !

A little pro tip
Homemade yogurt is easy to prepare. On the other hand, some people find the preparation time too long.
It is true that this recipe takes time, but it is above all a question of not waiting to prepare.
Indeed, the only time to be careful is when monitoring the temperature of the milk.
Here is the little trick to save time: the ideal is to prepare the yogurt before going to bed.
That's why I start to heat the milk at the end of dinner.
This way, I can monitor all the steps that require handling, while I do my kitchen cleaning at the end of the day.
It's convenient, because anyway, it's time I spend in the kitchen every night.
Suddenly, the yoghurt preparation time passes very quickly.
What to do with the whey?
After having drained the yogurt, a liquid remains: this is the whey.
Do not throw it away: you can use it for cooking.
It replaces milk or water for baking recipes. You can also add whey to your smoothies.
Your turn...
Have you tried this easy yogurt recipe? Tell us in the comments if you liked it. We can't wait to hear from you!
Do you like this trick ? Share it with your friends on Facebook.
Also to discover:
What to do with expired milk? 6 Uses No One Knows About.
How To Make Homemade Butter VERY Easily.

