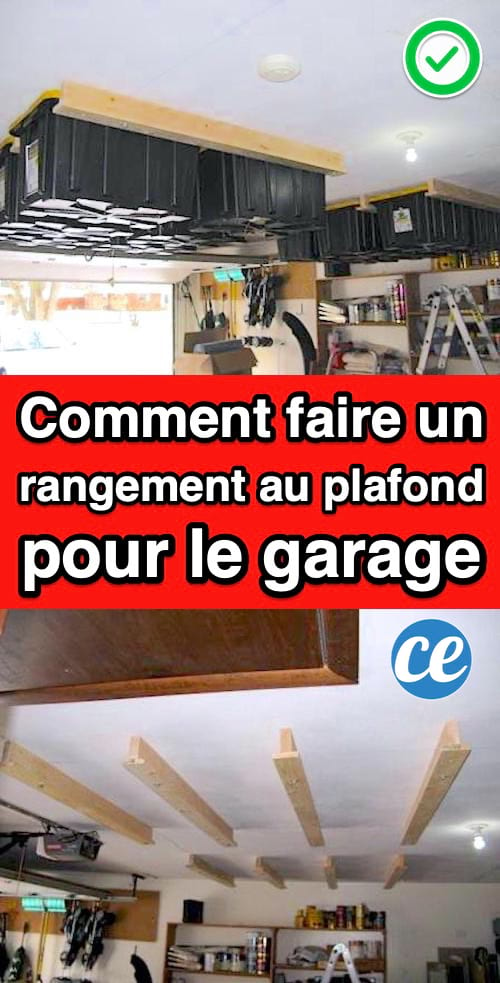
Garage: How To Make Ceiling Storage To SAVE Space.
I don't know about you, but with us we don't have never enough room for storage.
To tidy up all our mess, we need a castle!
We live in the countryside in a house of "normal" size, but nowadays, we accumulate, we accumulate ...
And we end up with more and more objects, and more mess!
No matter how well we sort and tidy our house ... The objects keep piling up!
Fortunately, I finally found the solution: hang sliding storage boxes from garage ceiling. Look :
The advantage? All our belongings are grouped together and easily accessible at any time!
All you need to do is find large storage boxes that are strong enough to hang from the ceiling.
And when you need it, hop! Just drop a box from the ceiling and it's all there, at your fingertips.
You can easily find large storage boxes inexpensively at home improvement stores.
For my garage, I used large storage bins with cover, which are about 75cm long.
Their size is perfect for our ceiling, as I was able to arrange them in rows of 2 boxes.
In addition, I have chosen very sturdy boxes, which can hold up to 175 kg each.
To be able to hang them safely, I chose storage boxes with a very wide and solid rim.
Finally, the lids and edges of the boxes are pierced with small holes, which allows them to be properly closed with clamps!
And for the rest ? Fastoche! A few wooden planks, we cut, we fix it to the ceiling, and voila! Here is the tutorial:
What you need
- 12 large storage boxes
- 4 wooden boards 2,5x10x3 (thickness 2.5 cm, width 10 cm, length 3 m)
- 4 wooden boards 5x10x3 (thickness 5 cm, width 10 cm, length 3 m)
- 16 "lag screws" (diameter 8 to 10 mm, length 200 mm)
- 16 washers (diameter 8 to 10 mm)
- 40 "terrace" screws (length 100 mm)
- fixing glue
- tracing cord
- optional: clamps
HOW TO DO
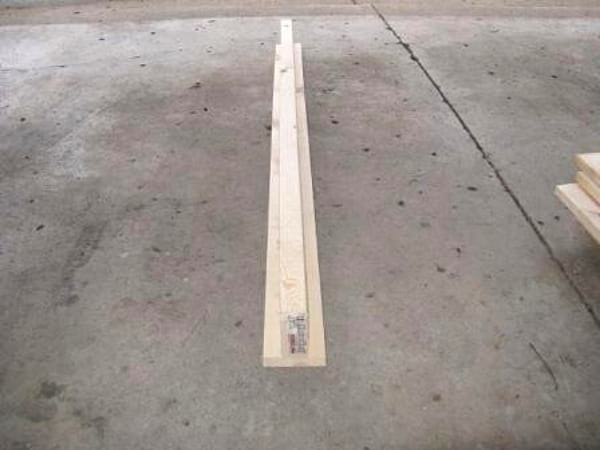
1. Cut the boards in 2
Here, the idea is to cut your boards at the right length : that is to say according to the length of your boxes.
The planks should be long enough to hang 2 storage boxes on them, with about 3 cm of margin on each side.
Cut all the boards to the same length.
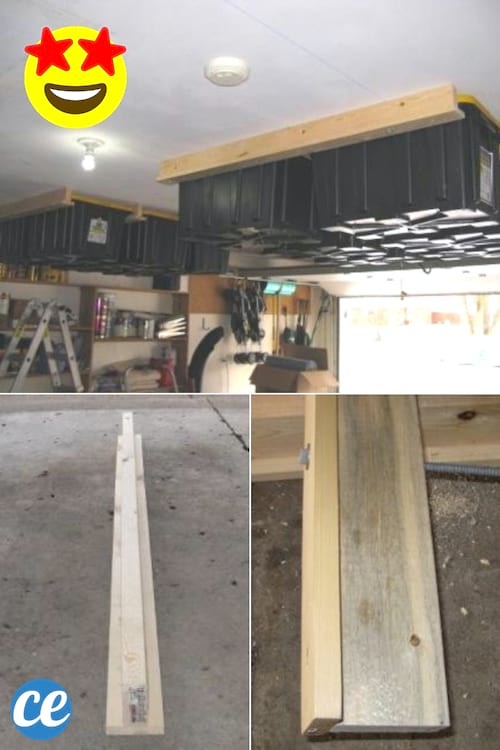
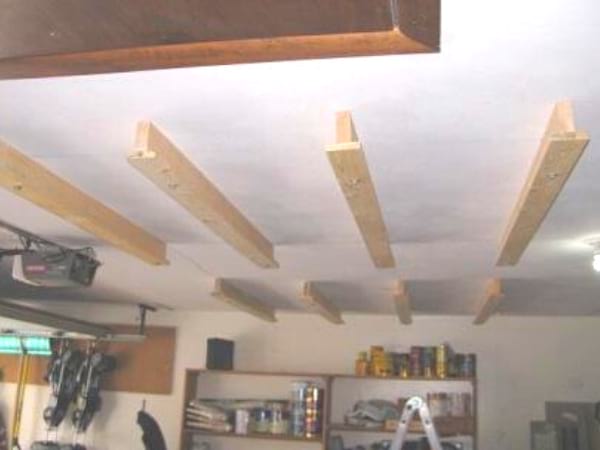
2. Build the wooden rails
Once all of your boards are cut to the correct length, you can start building the rails.
Here, the idea is to assemble the boards so that they form a T-shaped rail, as in the photo above.
Here's how to do it:
- Place a board with a thickness of 5x10 (the thickest) on its edge (that is to say, the side which is 5 cm).
- Apply a line of fixing glue over the entire upper part of the board.
- Place a board with a thickness of 2.5x10 (the least thick) on the top of the board 5x10, so as to form a T.
- Use the "terrace" screws to screw the 2 boards together.
- Take care to screw the 2.5x10 board into the 5x10 board.
- Space the screws approximately 3 cm. If necessary, you can use the clamps to hold the 2 pieces tight together.
- Repeat these steps for all the boards, until you get 8 wooden rails.
3. Draw a line on the ceiling joists
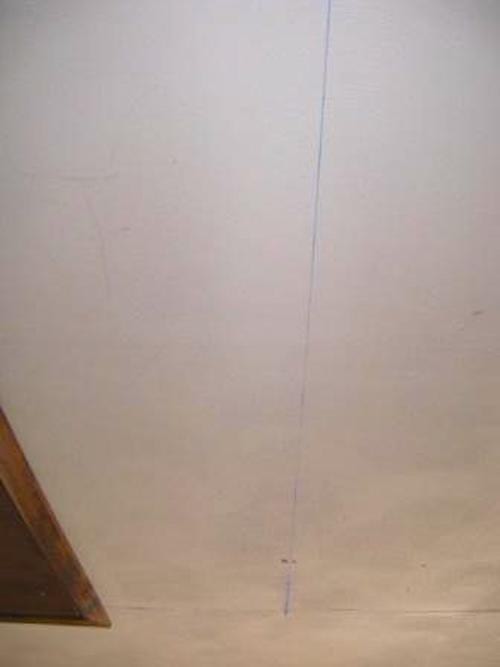
The next step is to mark the position of the joists (joists) of the ceiling.
It is important, because it is in the joists that you must fix the rails to the ceiling.
In order not to be mistaken, the easiest way is to draw a line on the joists.
For example, in my house, the joists in the ceiling are spaced 60 cm apart.
Here is how I drew my line:
- To find the center of the joists, measure where you think it is and make a mark.
- Then, using a hammer, hammer small nails into the ceiling to make sure you find the exact center.
- Do the same at the other end of the joist, much further from where you plan to attach your tracks.
- Using a scribe, draw a line along the joist.
Note: if you draw all the lines at the same time, you could make a mistake ... and end up with lots of marks on your ceiling.
Instead, start with one side of the ceiling. Draw a single line and attach the first rail.
4. Make the holes for the first rail

Before attaching the tracks, measure the exact location where your tracks will cross the ceiling joists.
For example, in my house, the rails crossed each joist in 3 different places.
- Position your rail so that it crosses the joists at 3 points: 1 time in the middle, and the other 2 towards the ends of the rail.
- Keep this position and mark the joists at the 3 precise places where they cross the rail.
- With a 6 mm drill bit, make pre-drilled holes in the ceiling joists.
- Align the rail perfectly with the holes in the ceiling.
- Using a marker, mark these locations on the rail, as you did on the ceiling joists: 1 hole in the middle and 2 at the ends of the rail.
- Drill the holes in the rail with a 6 to 8 mm drill bit (depending on the diameter of the lag screws).
- Put washers on the lag screws and push them through the holes in the rails, as in the picture above.
Note: to avoid making a mistake, check your measurements several times! Make sure the holes in the track are perfectly aligned with the holes in the ceiling.
5. Attach the first rail to the ceiling
Now attach the first rail to the ceiling.
Align the holes in the rails and ceiling, then tighten the lag screws securely.
Note: I managed to put the rails in place on my own, but it's much easier if you have someone to help you.
To do this on my own, I first screwed one end of the track halfway into the joist, so the track would hold in place on its own.
Then I used a second ladder to secure the other end of the rail.
Be aware that tightening the lag screws in the ceiling requires a lot of elbow grease.
Having trouble tightening the screws with a ratchet wrench?
There is a little trick! You can improvise an extension to increase the lever arm using a large piece of pipe.
6. Attach the other rails to the ceiling
After attaching the first rail, measure the distance needed between each rail to slide the storage boxes into it.
Here's how to do it:
- For example, assuming that like at home, your storage boxes are 52 cm wide.
- By adding a clearance of 1 cm, this means that you need precisely a distance of 53 cm between each rail.
- Measure this distance starting from the first rail.
- Make a mark, taking care to stay straight on the line of the joist (the line drawn with the tracing cord).
- Measure exactly the same distance for the 2nd screw and the 3rd screw. Make a mark.
Note: once again, check your measurements several times to make sure your tracks are perfectly spaced and parallel.
- Fix the 2nd rail by following the drilling and fixing steps in the previous points.
- Take a test: slide a storage box between the rails to be 100% sure you have good spacing.
- Finally, repeat these steps to add the rest of the rails one by one.
Results
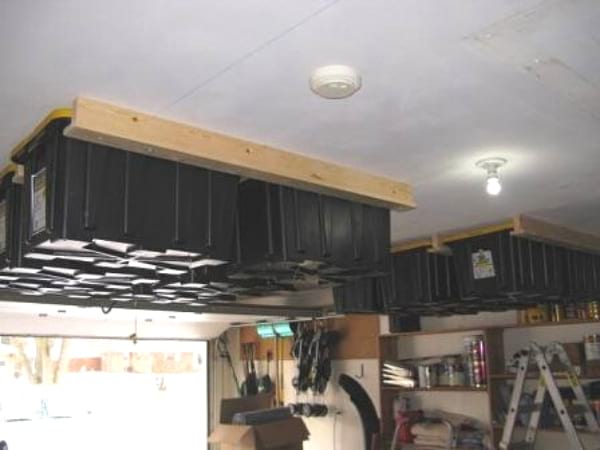
And there you have it, your storage boxes hanging from the ceiling are already finished!
Now you have saved tons of space to store your things :-)
Awesome, don't you think?
Thanks to the lag screws, the rails are firmly fixed in the joists.
To test the strength of the rails, I hung on them. And even putting all my weight into it, they didn't budge a bit.
Note that once full, each box weighs approximately 20 kg.
So, not bad for a Sunday handyman, don't you think?
In the end, I am super satisfied with my little DIY project!
It's still nicer to do things yourself rather than buying an expensive storage cabinet for the garage ...
Note that in total, I spent about 5 hours on this project.
But I think that with a little helping hand from a friend to do the cutouts, holes and fasteners, this project only takes 2-3 hours.
Indeed, I wasted a lot of time going up and down my 2 stepladders, to be sure to take exact measurements.
Little by little, my wife and I put all our things in the boxes perfectly!
And once our garage was perfectly organized, we added large labels to the sides and bottom of the boxes.
This way, we know what each box contains at a glance!
Your turn...
Have you tried this trick for overhead storage in your garage? Tell us in the comments if it worked for you. We can't wait to hear from you!
Do you like this trick ? Share it with your friends on Facebook.
Also to discover:
14 Awesome Garage Storage Ideas.
100 Storage Tips For A Well-Organized Garage.