How To Make Good Compost? The Easy Guide For Beginners.
Composting is recycling garden and household waste to decompose in a composter bin.
Afterwards, the micro-organisms present in the soil degrade and transform this organic waste into a rich and 100% natural soil: compost.
So, making your own compost enriches your soil to nourish your plants and make them healthier.
But that's not all ! Composting also allows reduce your waste organic (kitchen, green and wood waste) and avoid transport to the recycling center.
But where to put the compost bin? And what waste to compost?
here is the easy guide to start your compost even when you are a beginner :
Click here to easily print this guide in PDF.
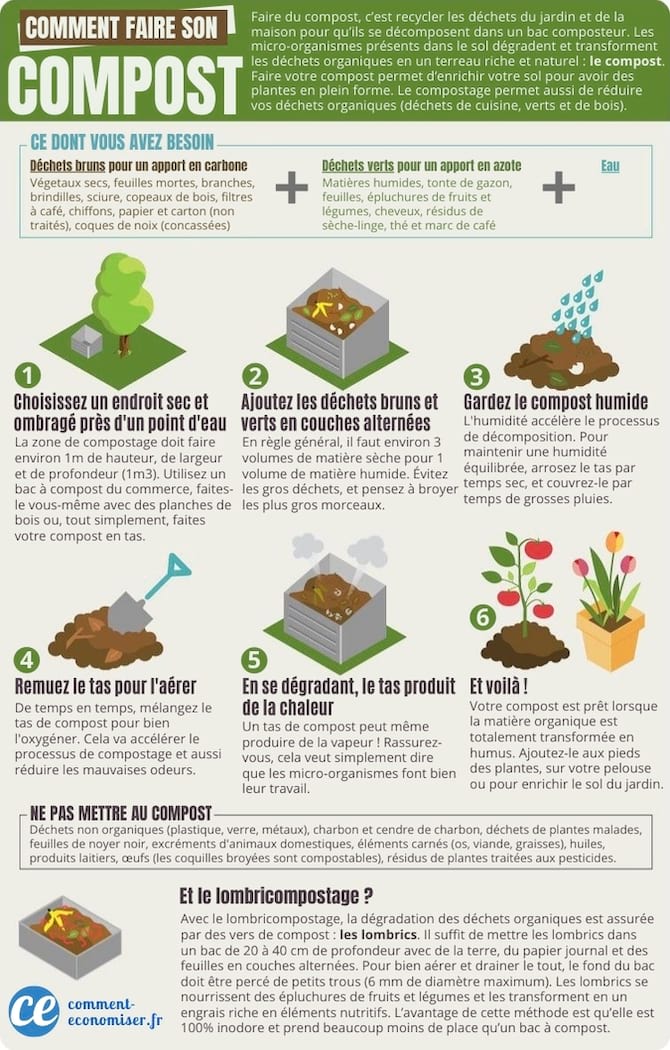
What you need
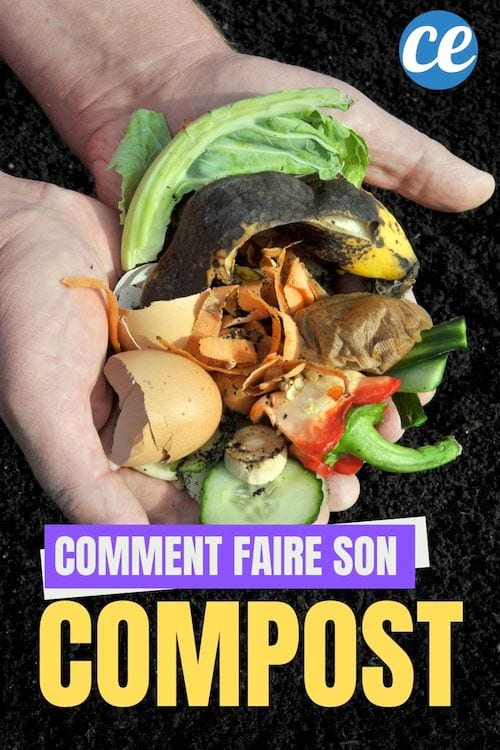
- Brown and dry waste for a carbon contribution: plants and dead leaves, dry branches and twigs, sawdust, wood chips, coffee filters, rags (cotton or wool), paper, newsprint and cardboard (untreated) and walnut and hazelnut shells (crushed).
- Green and wet waste for nitrogen supply: mowing lawns, leaves, fruit and vegetable peels, hair, dryer residues, tea and coffee grounds.
- Water
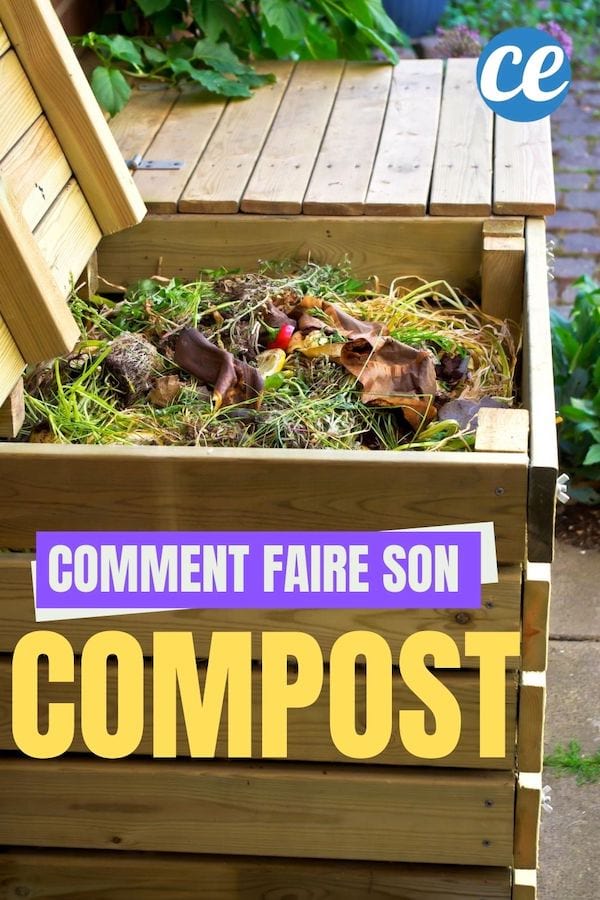
- Compost bin (you can buy a compost bin like this or make it yourself with wooden planks like here.)
How to do
1. Choose a dry, shady place near a water source.
The composting area should be around 1m high, wide and deep (1m3). You can use a store-bought compost bin, make it yourself with wooden planks and wire mesh, or just make a compost in a pile.
2. Add the brown and green waste in alternating layers
As a rule of thumb, about 3 volumes of dry material are needed for 1 volume of wet material. Avoid large waste and remember to grind the larger pieces. Use a vegetable shredder to cut the waste into small pieces and facilitate the work of fermenting microorganisms.
3. Keep the compost moist
Moisture speeds up the decomposition process. To maintain balanced humidity, water the pile in dry weather, and cover it in heavy rain.
4. Stir the heap from time to time to aerate it.
Mix the compost heap to oxygenate it well. This will speed up the composting process and also reduce bad odors.
Warning : the first mixing should only be done 2 to 4 weeks after the waste has been stockpiled. This will prevent you from dropping the temperature, which is beneficial to the activity of bacteria.
5. As it degrades, the heap produces heat.
A compost pile can even produce steam! But rest assured, it just means that the microorganisms are doing their job well. Now you just have to wait.
6. Your compost is ready!
And now, voila ! Your compost is ready when the organic matter is totally transformed into brown humus, which looks like potting soil and smells of forest soil. Add it to the feet of plants, on your lawn or as a complement to enrich the soil in your garden.
Know that you have to count between 3 and 5 months so that a compost is well decomposed and rich in humus.
Materials to be composted
Brown and dry waste (for a carbon contribution):
- plants and dead leaves,
- dry branches and twigs,
- sawdust and wood chips,
- coffee filters,
- rags (cotton or wool),
- paper, newsprint, cardboard (untreated)
- shells of walnuts and hazelnuts (crushed).
Green and wet waste (for nitrogen supply):
- lawn mowing,
- sheets,
- peelings of fruits and vegetables,
- hair,
- dryer residues,
- tea and coffee grounds.
Materials NOT to be composted
- Inorganic waste (plastic, glass, metals),
- coal and coal ash,
- waste from diseased plants,
- leaves and twigs of black walnut,
- excrement of domestic animals,
- meat elements (bones, meat, fats),
- oils,
- dairy products,
- eggs (crushed, the shells are compostable),
- residues of plants treated with pesticides.
What about vermicomposting?
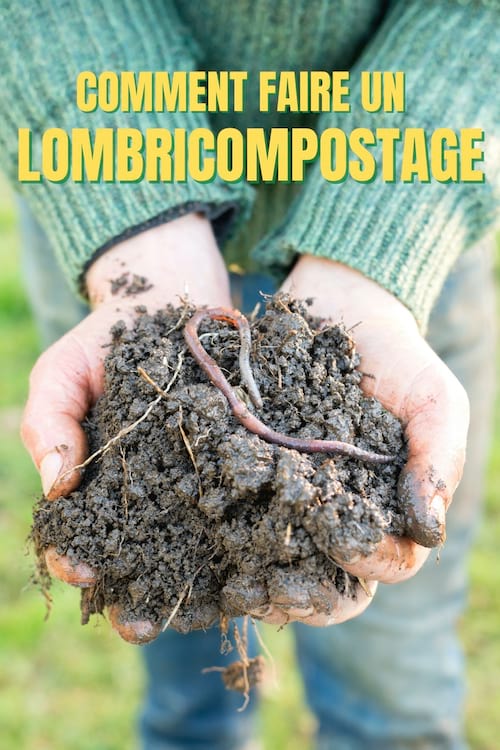
With vermicomposting, the degradation of organic waste is ensured by compost worms: earthworms.
Just put the earthworms in a container 8 to 16 inches deep and add soil, newspaper and leaves in alternate layers.
To ventilate and drain everything, the bottom of the tank must be pierced with small holes (6 mm maximum diameter).
Earthworms feed on the peelings of fruits and vegetables and transform them into a nutrient-rich fertilizer.
The advantage of this method is that it is completely odorless and takes up much less space than a large compost bin.
Your turn...
Have you tried this guide to making your own compost? Tell us in the comments if it worked for you. We can't wait to hear from you!
Do you like this trick ? Share it with your friends on Facebook.
Also to discover:
How To Fertilize The Soil In Your Vegetable Garden WITHOUT Making Compost.
How To Make A Compost Bin With Pallets In 10 Min Chrono.